I wanted to make bronze copies of my stone torus sculpture and of my mahogony genus 4 surface, so I asked my friend, Helaman Ferguson, how it was done. He showed me his studio, the molds used to make wax copies, and suggested that taking my originals to a professional foundry would be expensive. Perhaps I could get some help and advice from someone in my local art department.
I contacted Prof. Jim Stark, who allowed me to attend one of his sculpture classes, and to use the excellent Sculpture Studio in the Fine Arts Building. He helped me with the many stages of making a bronze cast:
(1) Making a silicone mold,
(2) Using it to make an approximate wax model of the original,
(3) Cleaning up the details of the wax model,
(4) Making the gating system which allows hot molten bronze to be poured into the desired shape and air to escape,
(5) Immersing the wax and gating into a special mold material which quickly sets,
(6) Moving the heavy molds into the kiln where the wax is melted and burned away, leaving the hollow space in the shape of the desired sculpture along with passages for the bronze to get in and air to get out,
(7) Moving the cooked molds from the kiln into position on the floor of the foundry to be ready for the pouring,
(8) Heating the silicon-bronze alloy to over 2000 degrees in a blast furnace crucible and using the system of lifts to move the crucible over the molds to pour the bronze into them,
(9) Breaking open the molds to get the cooled bronze out,
(10) Using the carbon arc welder to remove the excess bronze material from the gating and vents,
(11) Using the various grinding and polishing tools to give the surface the desired finish.
I took some pictures of the bronze pour on December 2, 2005, which can be seen by following the following link:.
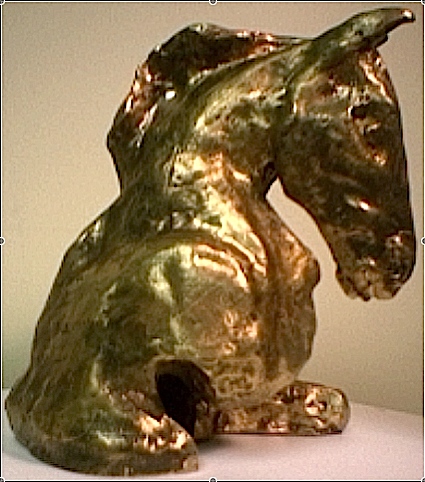
Bronze Pour Pictures and Commentary.I did this process to make two copies of my torus and two copies of my mahogany sculpture. I had some extra sculpting wax left over at home, and offered it to my daughter, Judy, to make something in time for the pouring. She quickly made a beautiful horse, head, shoulders, chest, and part of a leg, taking just two days to complete her original wax sculpture. I was able to make the gating for it in one day, in time to be included in the pouring on April 20, 2005.
On this page I will post pictures of the silicon-bronze sculptures that resulted from all this work. I will also include pictures of some other metal sculptures I did in Spring 2005, explained below.
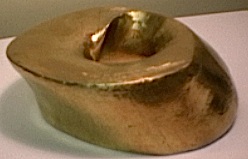
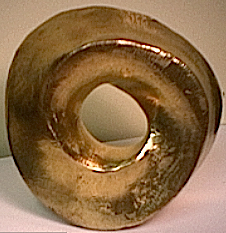
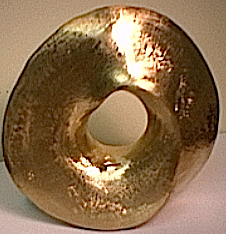
Here are pictures of the bronze torus, partially polished, but not finished.
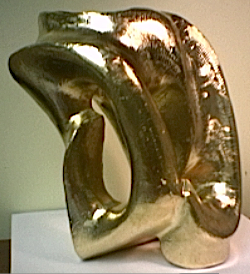
Here are pictures of the bronze genus 4 surface, partially polished, but not finished.
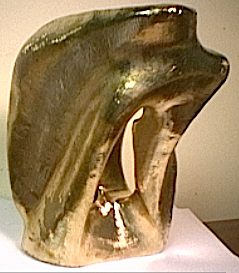
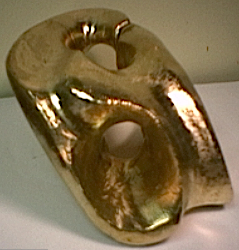
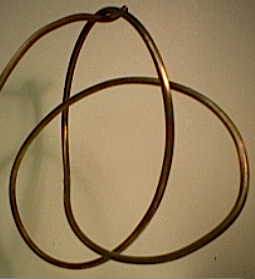
Here are pictures of a bronze sculpture of a trefoil knot which I made from a 1/4" bronze rod, bent by hand using only a vice for leverage, inspired by a picture I saw on a postcard of a sculpture by John Robinson. His sculpture was a ribbon of metal, curved into a trefoil knot, but also twisted to make a Mobius strip. I have made two such pieces myself, one of steel and one of bronze. The steel version, bent from a bar of steel using an oxyaceteline torch, can be seen on the page Steel and Plastic Sculptures of Alex Feingold, The bronze version, made first in wax and then cast, is still being polished, but pictures will be posted when it is ready.
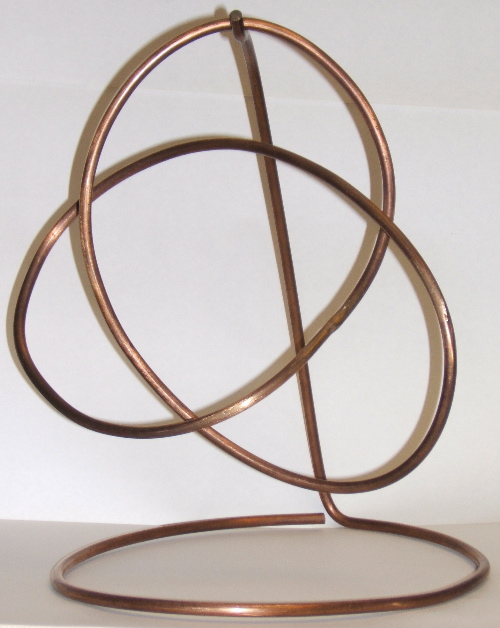
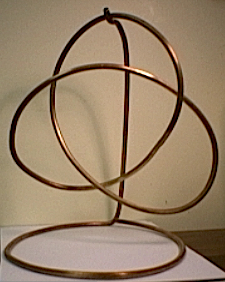
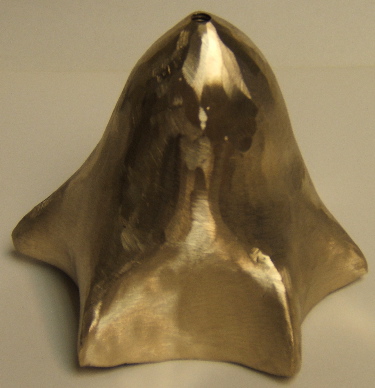
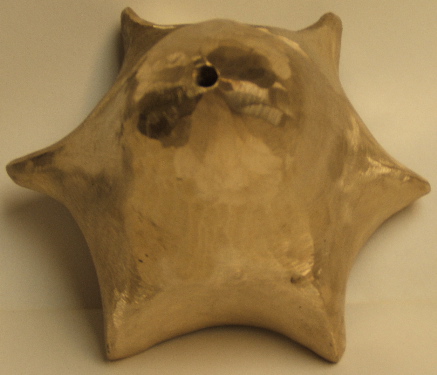
Here are some pictures of bronze sculptures I made during the Fall 2005 semester. The first two show a bronze bell which has been incorporated into a kinetic sound sculpture as center top instead of a simple cylinder, to be hit from outside by the cylindrical tops on twelve other rods arranged in two hexagons around it. For pictures of the kinetic sound sculpture based on the Lie algebra of type G2 with the bell as center top, see the following link: Sculptures from Summer 2006, Since the tops are screwed on, they can be easily exchanged to vary the sculpture and resulting sound.
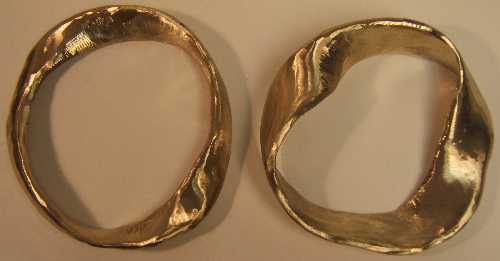
Next is a picture of two bronze rings I made, twisted several times like a Mobius strip, but in fact, these have an even number of twists, so they are orientable surfaces.
Here are four pictures showing different views of my attempt to make a Costa surface. It is far from being fully polished. Below are pictures of a true Costa surface (negative curvature at every point of the surface) made by Helaman Ferguson.
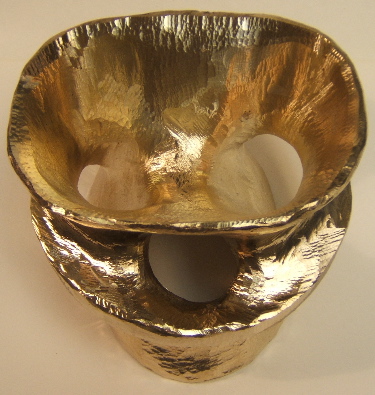
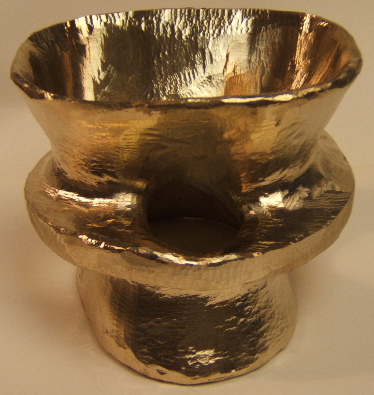
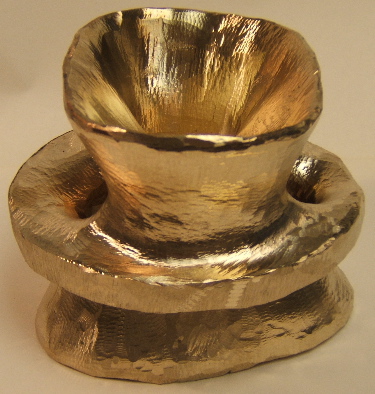
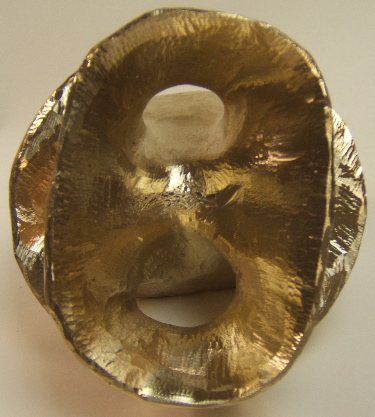
This is a picture of a very small bronze sculpture (3" long) I made on January 22, 2006 from a piece of scrap bronze left over from someone else's project. After using the welder to repair a hole in the middle, I used an edge grinder to shape it into a surface pleasing to hold in one hand. It has the negative curvature saddle surface on three edges, and evolved naturally into the shape of a fish!
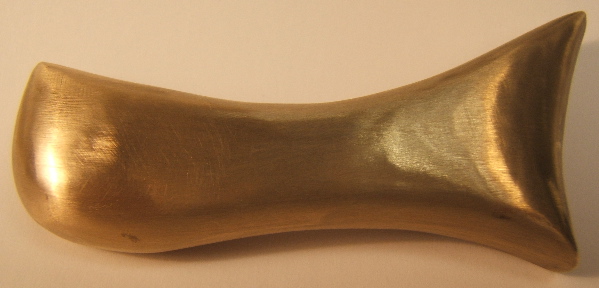
I am proud to own two bronze sculptures made by Helaman Ferguson, ``From Zero To Infinity In Nothing Flat",
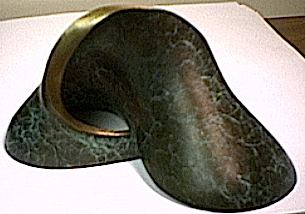
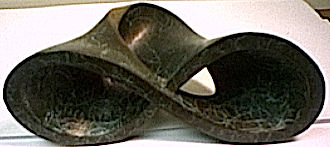
and ``Costa Five and Hyperbolic Disk".
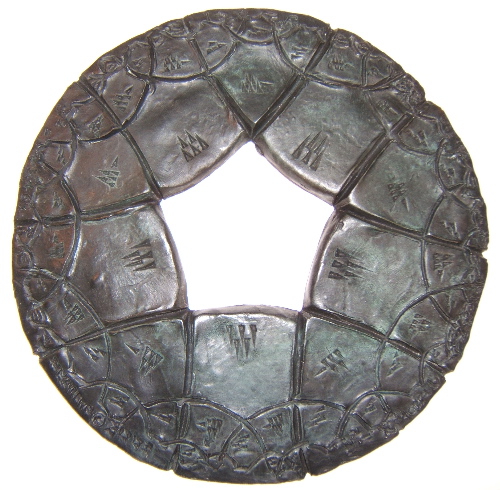
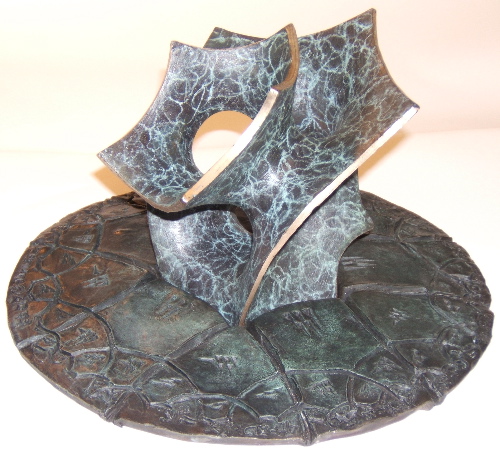
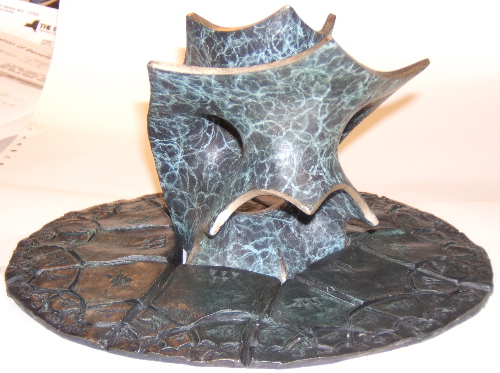
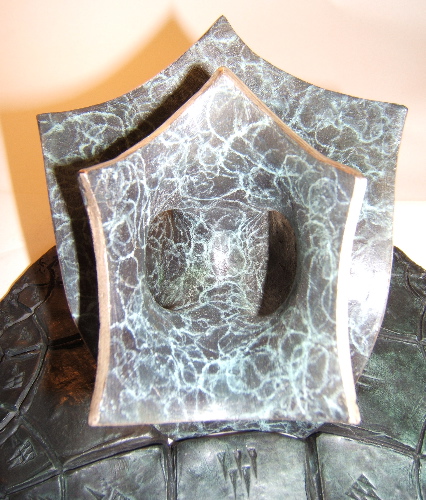
I have taken many pictures of Helaman's work, some at his home, some at his studio, including work in progress, showing the remarkable stages required of his larger granite pieces. You can see some of these pictures on my webpage Sculptures of Helaman Ferguson,
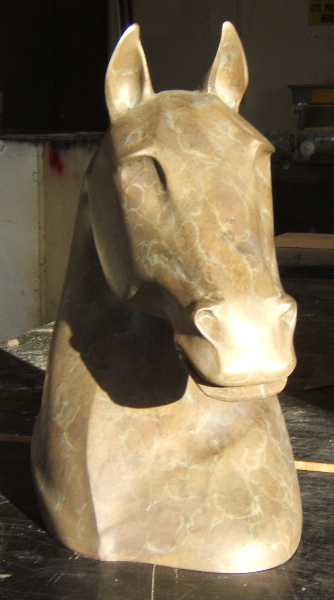
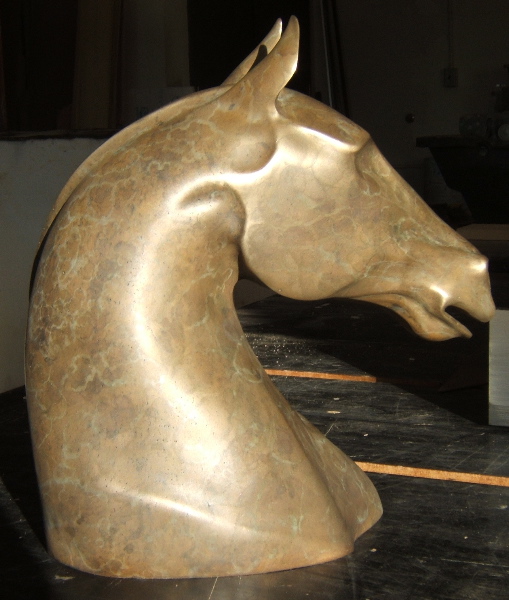
Here are pictures of Judy's bronze horse:
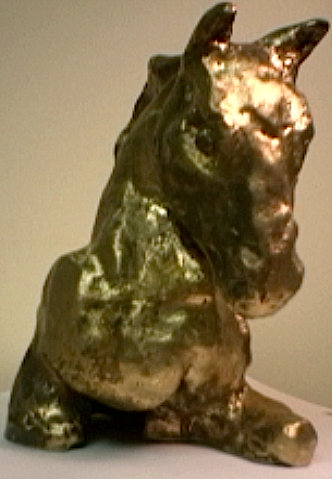
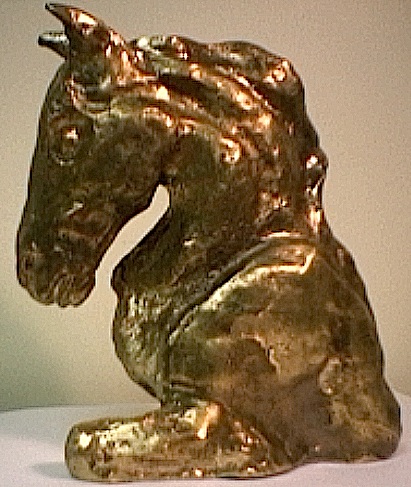
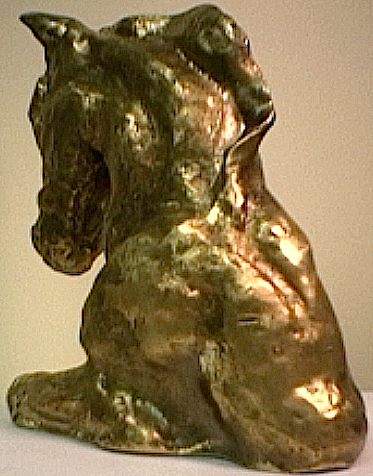
In January 2007, Brian Davis, a Binghamton artist who works in the Sculpture Studio teaching the students, providing technical support and supervision, brought in a bronze sculpture of a horse which he had done many years ago. In preparation for an exhibition of work done by the art teaching faculty, he decided to clean it up and apply a patina, coloring the surface with a chemical treatment. Here are three pictures of that piece.
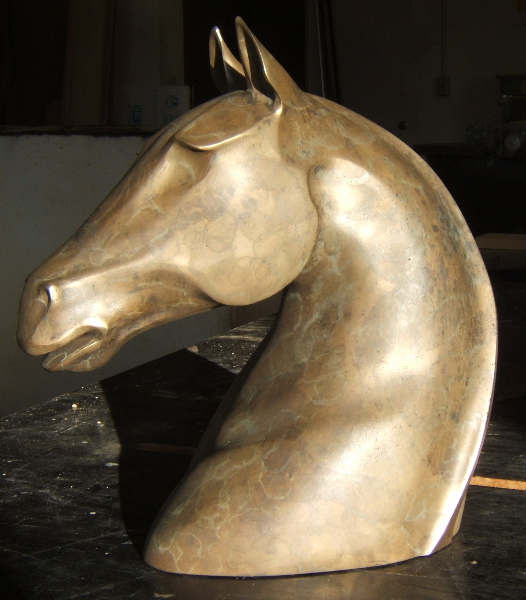
To see more types of sculpture I have tried, follow the following links:
Links back to:
Webpage of Alex Feingold,
Department of Mathematical Sciences,
Binghamton University.